Photo by Jay Wennington on Unsplash
Developing mobile apps has been easy, thanks to the framework like Ionic which is a cross platform. Before, you need to learn languages like Objective-C or Swift for ios and Java or Kotlin for android. Now a web developer can simply develop a mobile application using Angular/Ionic.
In this tutorial, we will develop a mobile app that looks for the nearest restaurant in a location. As most people love to eat, whether a place to dine with your loved ones or just to grab a quick snack. We will develop this app using Ionic framework. Without further ado, let’s get started.
Installing Ionic 4
First, let’s install the Ionic CLI via npm and we must install it globally. Run npm install -g ionic. Next type ionic start ionic-zomato blank, then it’ll ask us to select a Javascript framework to use for our new app. We will select the first option, which is Angular.
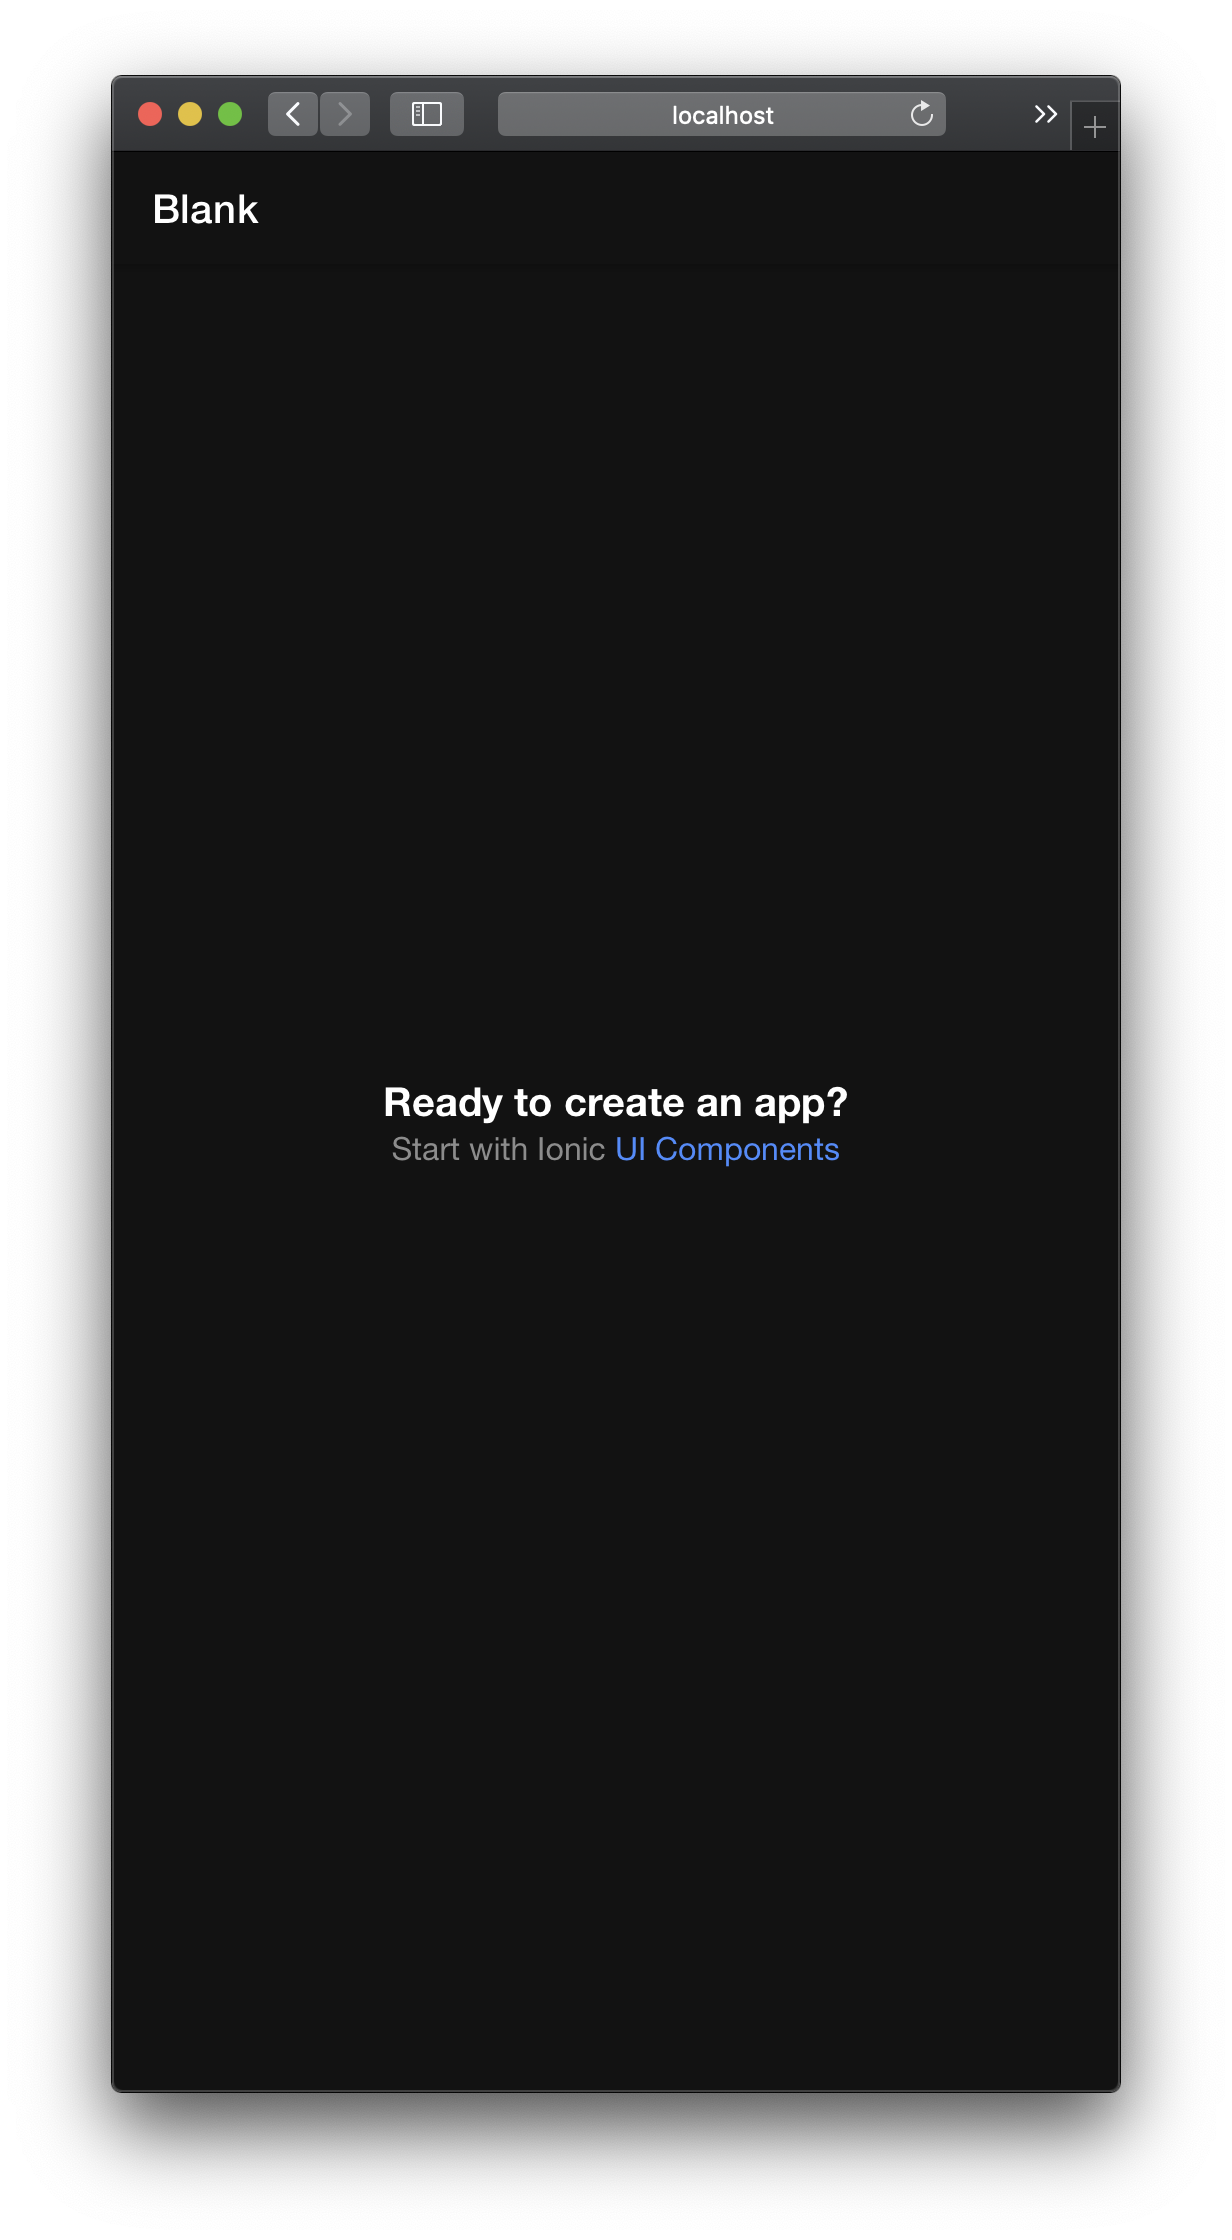
Once it's done generating the folders and files, we need to cd into the project folder in our terminal type cd ionic-zomato then run the command, ionic serve. It will open localhost:8100 in our browser.

Generate an API key
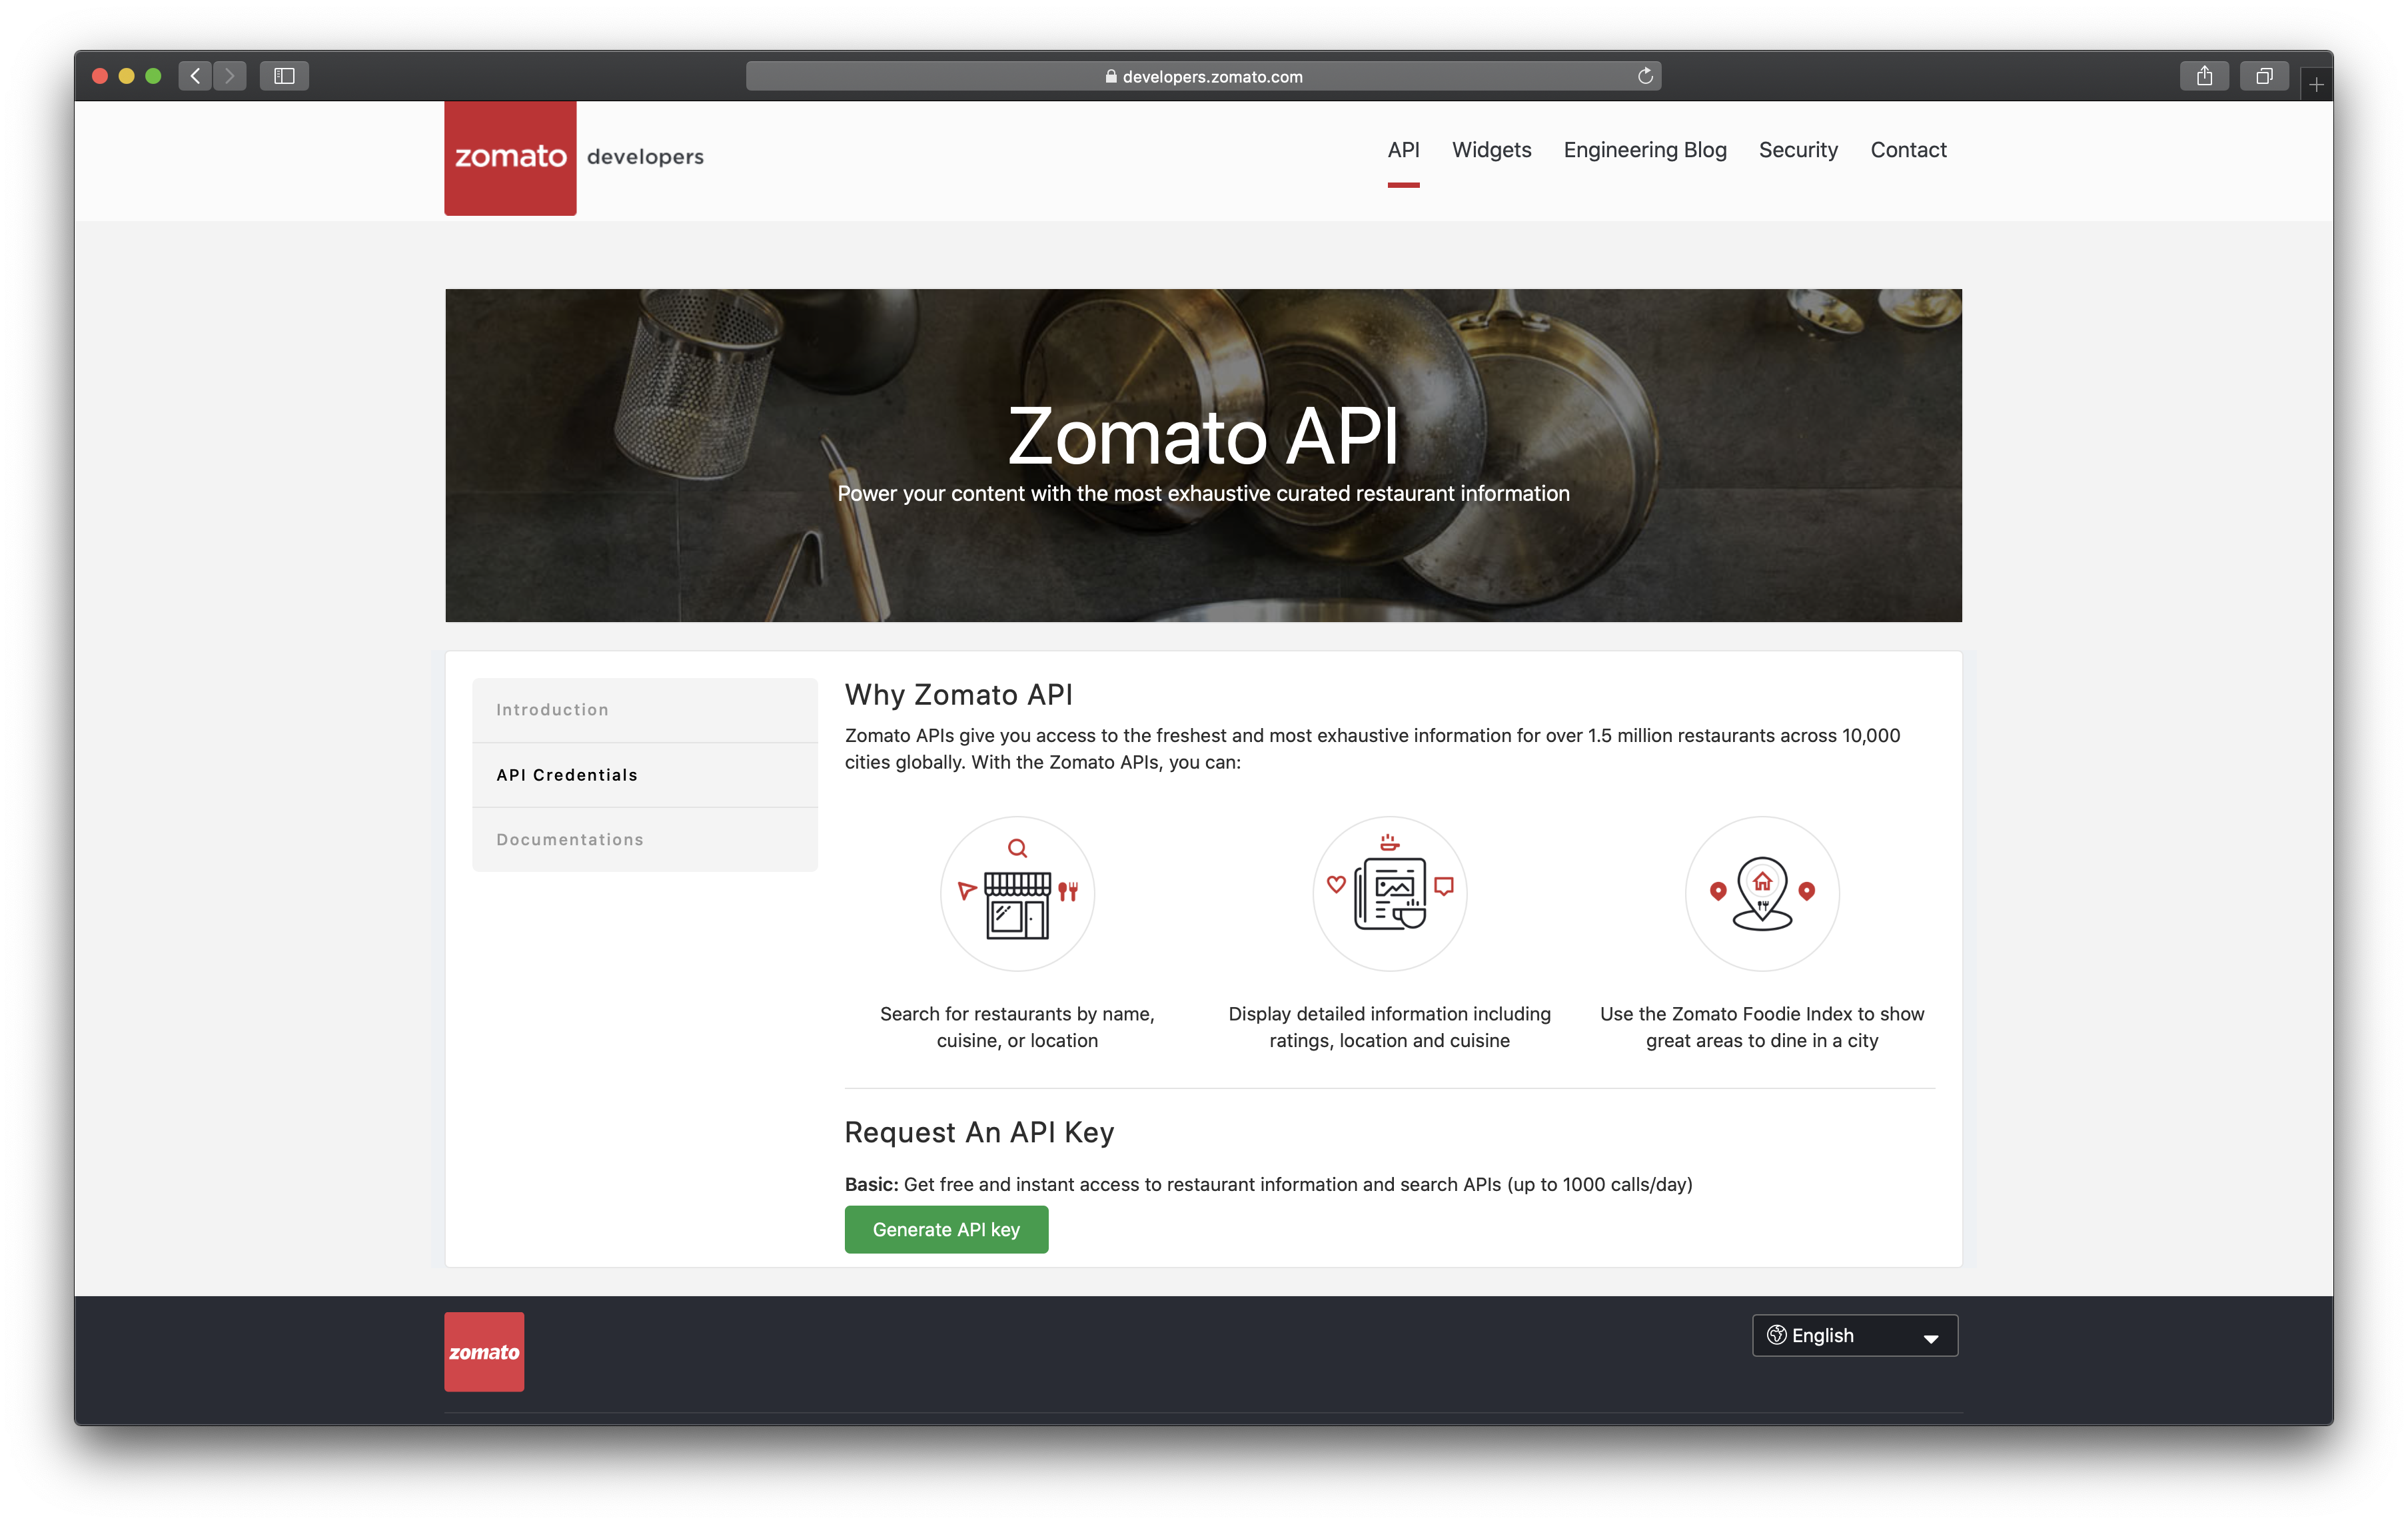
We will use Zomato to get data as their APIs will provide us with tons of restaurant information across multiple cities. Let’s go head to their website and register to this. Once done, click to api credentials. We will get a basic type, which will give us 1000 calls/day.

Creating a Zomato Service
The purpose of a service in Ionic/Angular is purely to run logic. Compared to components and pages, which focus is on displaying data and delegating data access. We will create a service that will interact to Zomato’s api. Type in the terminal ionic generate service api/zomato. It will create a folder named api with two files, respectively zomato.service.spec.ts and zomato.service.ts. We will not do any testing on this tutorial so we can leave the spec file as it is.
The first method that we’ll create is a helper method.
async showLoader(text?: string) {
  const loader = await this.loadingCtrl.create({
    spinner: "bubbles",
    message: text || "Please Wait..."
  });

  return await loader.present();
}

async hideLoader() {
  return await this.loadingCtrl.dismiss();
}
Ionic has a very nice component that we can use to show the user that there’s an activity happening behind the scenes. We will use the LoadingController component. First, we pass it into the constructor of our service class; I am using VSCode, which it automatically imports the class at the top of our file. We call our method name showLoader which accepts an optional text parameter which is a string, then inside the method we delegate the create method of loading controller instance and pass the parameters it needs. We set the spinner to bubble and message would be the text parameter if it's available then if not; we use a default string. And last, we call the loader present method of the loading controller.
Another helper method that we have is the hideLoader which dismisses the loader.
Making a request to Zomato api requires us to send the api with the headers, normally I do it on the backend so it’s much secured but for this tutorial we’ll just pass it along with the headers of our app. We include the api key as a property of our class.
export class ZomatoService {
  apiKey = "api-key-here";
}
getParams(params) {
let userKey = {
headers: {
Accept: "application/json",
"user-key": this.apiKey
}
};
return { ...userKey, ...params };
}getParams accepts an object that we then combine with the userKey object inside the method. In ES6 in 2015 introduced the spread operator, which perfectly combines two objects into one.
A mobile app without an ability to make a search is pretty much unusual, so we create another method that searches zomato for restaurants, cuisines or just a list of restaurants in a collection.
search(params) {
  return this.httpClient.get(
    this.baseUrl + "/search",
    this.getParams(params)
  );
}
As we can see, it uses the httpClient instance which we imported from @angular/common/http. Don’t forget to pass the class into our constructor too.
Going back to Home Page and using our Service
When we created our application, Ionic framework provides us with a page called home, it includes the files that we need, but we’ll focus on the .html and the home.page.ts files.
Diving into home.page.ts file we see a class with an empty constructor. We will use the service that we created earlier, so we need to import it into the top of our class and pass it into our constructor as a parameter. Ionic uses Angular’s life-cycle, or should I say it embraces it. So we need a way to fire our components during initialization. For that we implement the OnInit interface. You might notice that it throws us a nasty error on the console (assuming you are already running the ionic serve command). Regarding a property ngOnInit is missing in type Homepage.
Lets fix that by adding a ngOnInit method into our Homepage class. Inside the ngOnInit method, we have a property of Geolocation from @ionic-native/geolocation/ngx calling its getCurrentPosition method which gives the devices current position. It returns a Promise that resolves either a location or rejects with an error.
ngOnInit() {
  this.zomatoService.showLoader();
  this.geolocation.getCurrentPosition().then((res) => {
    this.zomatoService.hideLoader();
    console.log(res.coords.latitude, res.coords.longitude);
    this.getDinnerRestaurants(res.coords.latitude, res.coords.longitude);
  }).catch(err => console.log(err));

}
As you noticed, we haven’t declared the getDinnerRestaurants method from our Homepage class. Lets do that now. The method accepts latitude and longitude that we get from calling the getCurrentPosition of geolocation.
And inside the method we delegate the search method call from our zomato service and we put the result into the dinner property class.
getDinnerRestaurants(lat, lon) {
  this.zomatoService.search({
    params: new HttpParams()
      .set('lat', lat)
      .set('lon', lon)
      .set('category', 'dinner')
  }).subscribe((response) => {
    this.dinner = response;
  })
}
Last but not the least, make sure toinstall the ionic native geolocation https://ionicframework.com/docs/native/geolocation once finished, add it into the app.module.ts inside the providers array of @NgModule decorator.
Our application still uses the default display from the home page. So let’s tweak the html file:
<ion-header [translucent]="true">
  <ion-toolbar>
    <ion-title>
      Zomato Service
    </ion-title>
  </ion-toolbar>
</ion-header>

<ion-content>
  <div id="container">
    <div *ngIf="dinner" class="home-dinner">
      <div class="home-dinner__inner ion-padding">
        <ion-row>
          <ion-col *ngFor="let res of dinner.restaurants.slice(0,6)">
            <ion-img [src]="res.restaurant['thumb']"></ion-img>
            <div class="card-content">
              <ion-card-title>{{ res.restaurant['name'] }}</ion-card-title>
              <p>{{ res.restaurant['location']['address'] }}</p>
            </div>
          </ion-col>
        </ion-row>
      </div>
    </div>
  </div>
</ion-content>
As you can see, we just loop using the ngFor directive of Angular. The dinner property contains the response data from zomato, we use slice method to get only 6 items. Then get the image thumbnail of each restaurant along with its title and location address.
There are other many other api endpoints Zomato offers, you can visit their site and see the documentation for more.
Conclusion:
In this short tutorial, we learned how to:
- Install and setup an Ionic application.
- Create and use a service in Ionic framework.
- Use some modules like Geolocation / HttpClient that Angular/Ionic provides.
Here is the complete code of the app

